
Quick Start Scenario: The Friday Afternoon RFQ
It's 3 PM on Friday. Your sales team just forwarded an RFQ from a potential customer who needs a wire harness quote by Monday morning. The customer attached a hand-drawn sketch and a partial BOM.
This scenario walks you through responding to that RFQ using LoomCAD - from blank canvas to quoted deliverable in under an hour.
The Challenge
You received:
- A rough sketch of a 12-connector harness
- A list of 8 known part numbers
- Requirements: 24V automotive, 15 wires, 3 splices
- Deadline: Monday 9 AM
Your deliverables:
- Professional schematic drawing (PDF)
- Complete BOM with pricing
- Wire cut list for estimating
Step 1: Create the Project (2 minutes)
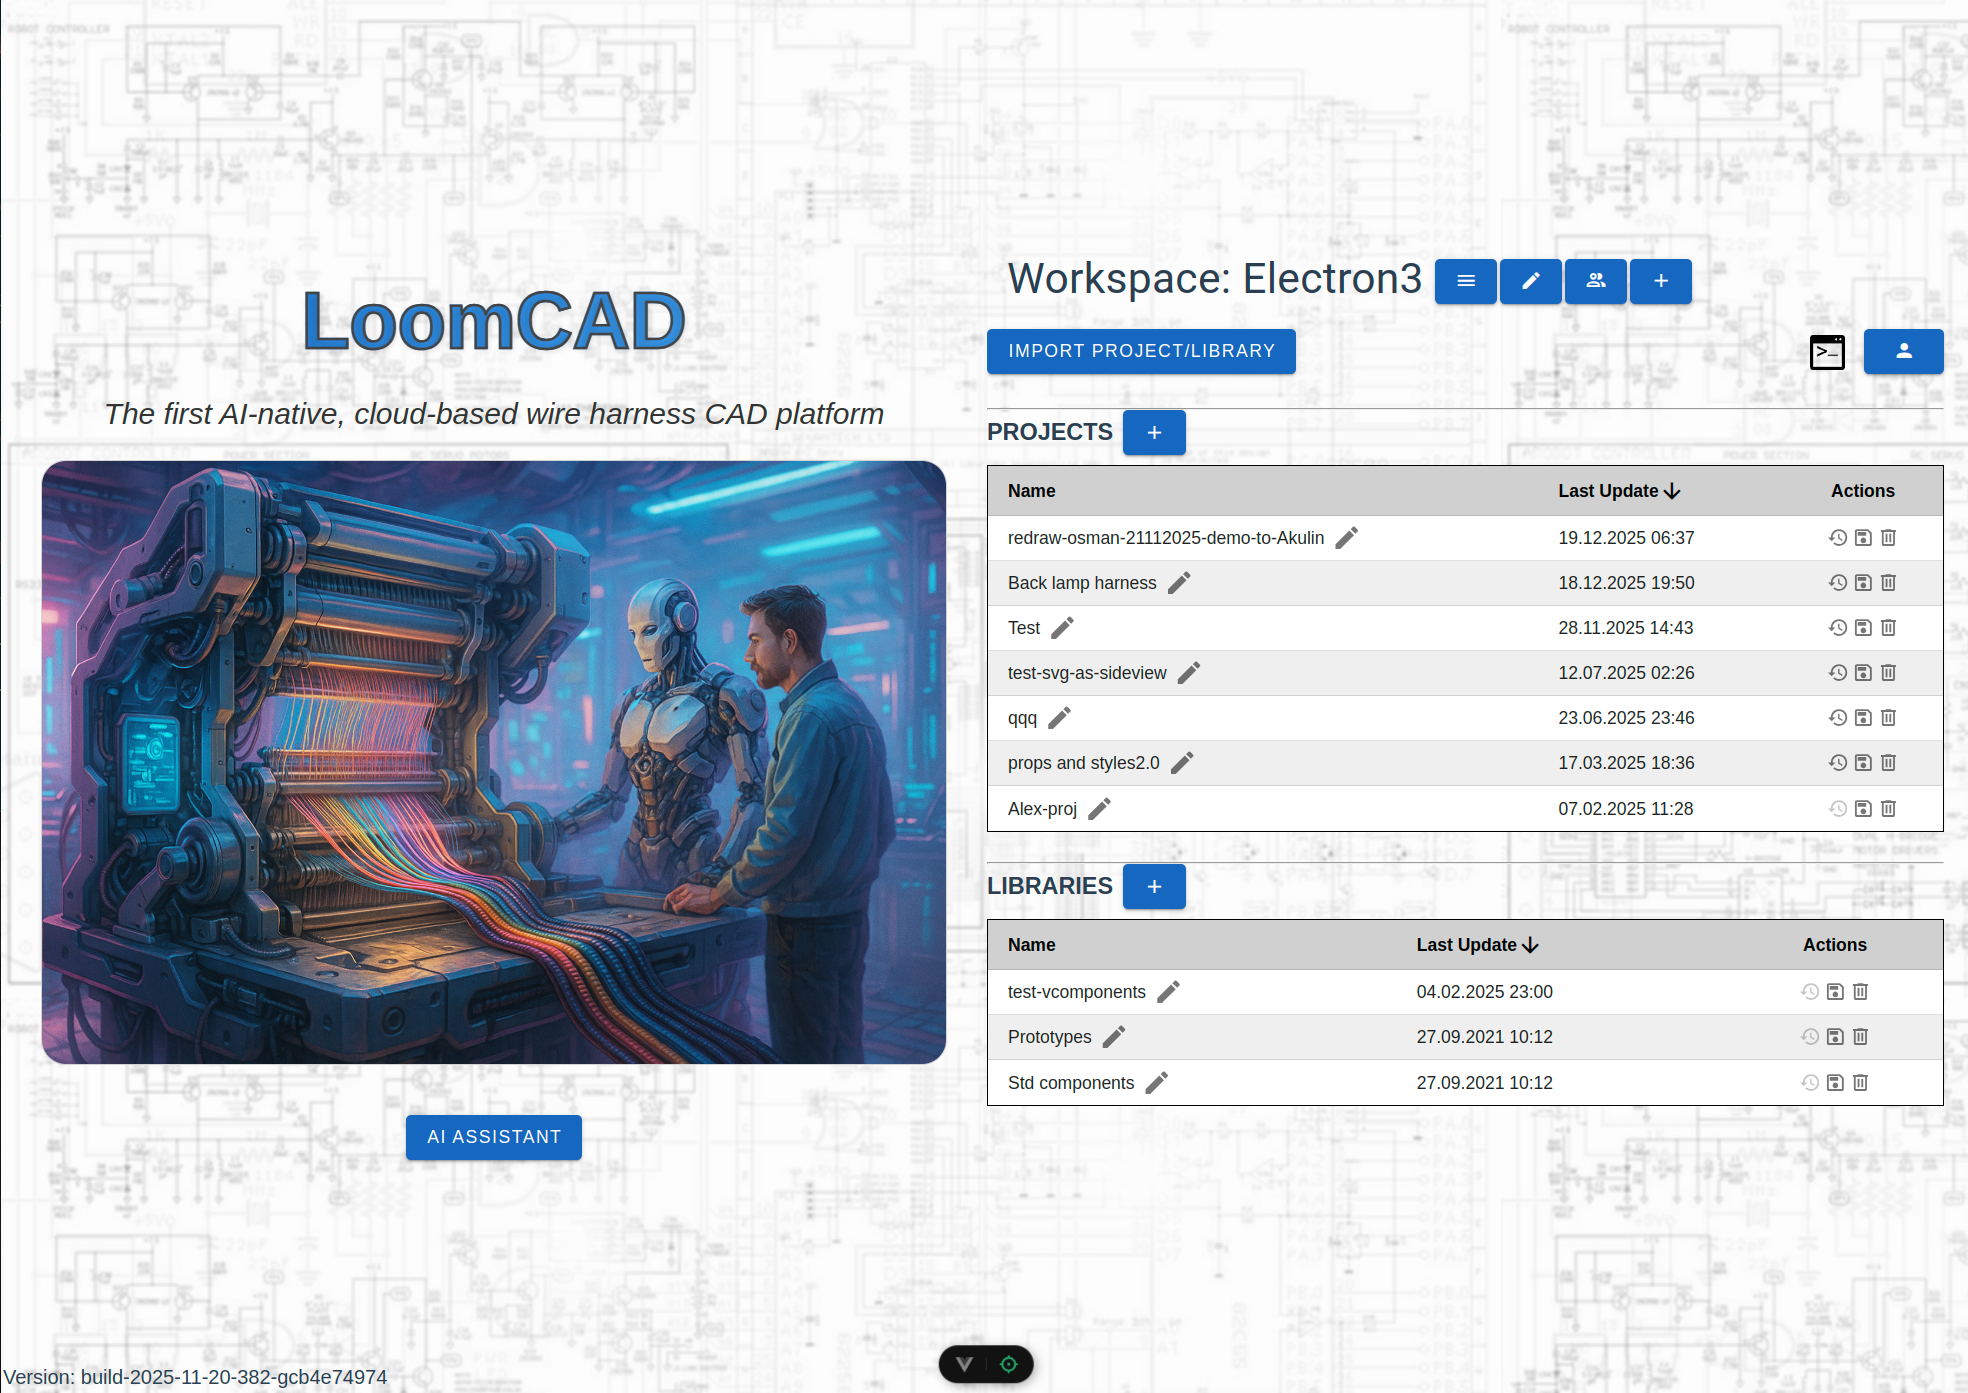
- Open eda.loomcad.com
- Click Create New Project
- Name it:
Customer-RFQ-2024-001
TIP
Use a consistent naming convention for RFQs. Include the customer name and date for easy tracking.
Step 2: Add Known Components from DigiKey (10 minutes)
The customer provided 8 part numbers. Let's fetch the real component data.
- Open DigiKey Integration from the side menu
- Search for the first part number
- Click to add the component to your sheet
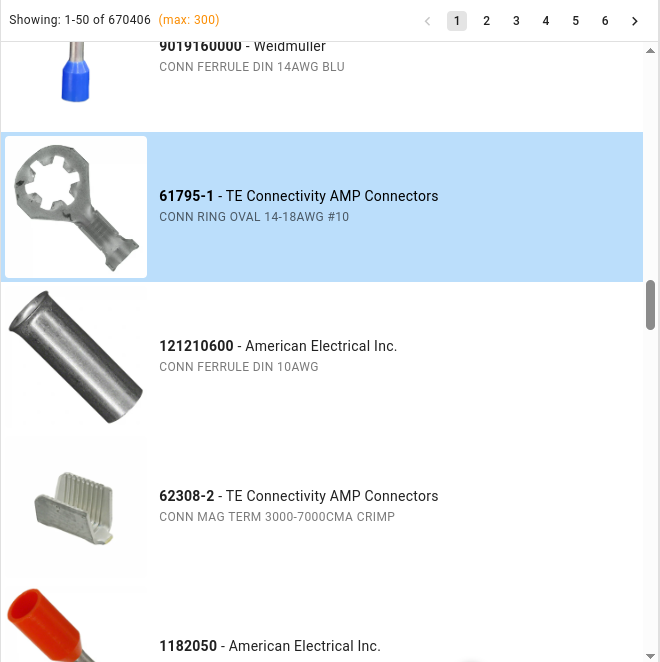
Repeat for each known part number. LoomCAD pulls:
- Pin count and configuration
- Manufacturer data
- Datasheet links
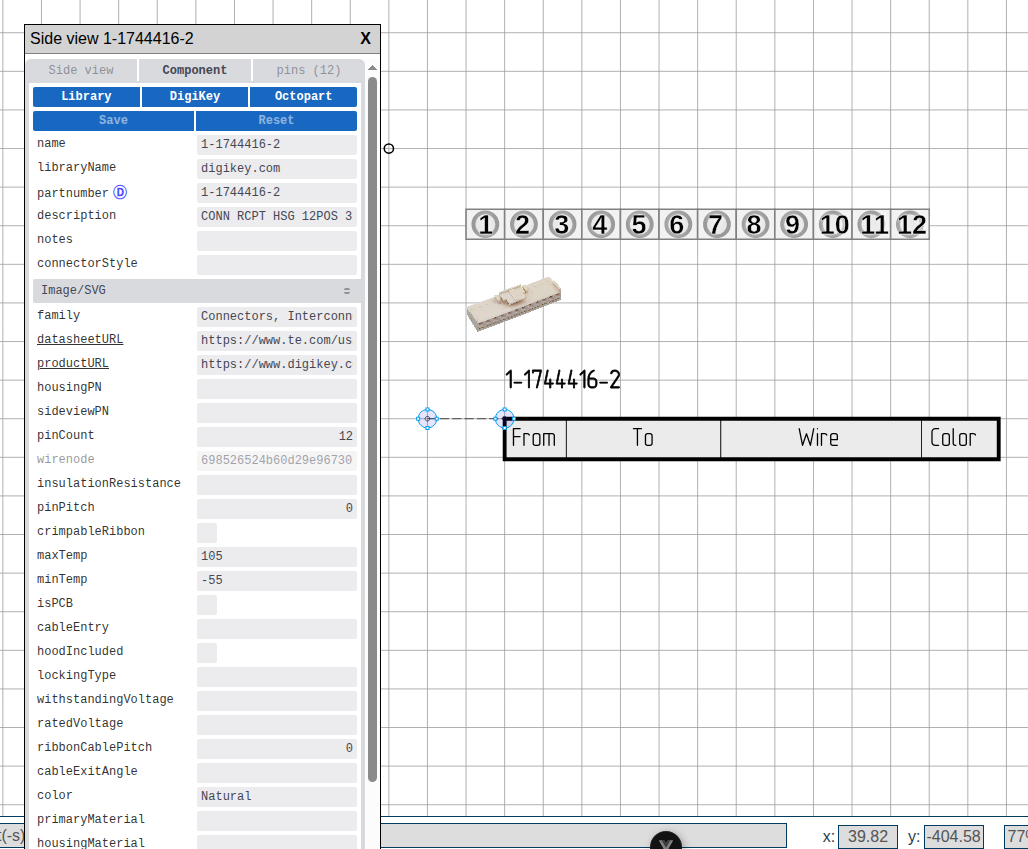 Component placed from DigiKey with properties populated
For the remaining 4 connectors without part numbers, use Custom Component:
- Select the Component tool from the toolbar
- Draw the component outline
- In the Inspector, set the pin count and labels
Step 3: Draw the Bundle Structure (8 minutes)
Now sketch the physical harness routing.
- Select the Bundle tool (Alt+B)
- Click to place bundle path points
- Connect all components with bundle segments

Quick Routing
Start from the main trunk and branch outward. This matches how the harness will be built on the formboard.
For the 3 splices:
- Select the Bundle Splice tool from the toolbar
 click on each bundle junction
- Fill in the properties dialog (name:
SP1,SP2,SP3)
Step 4: Connect the Wires (15 minutes)
With bundles in place, add the 15 wire connections.
- Select the Wire tool (Alt+W)
- Click on a source pin
- Click on a destination pin
- The wire routes automatically through bundles
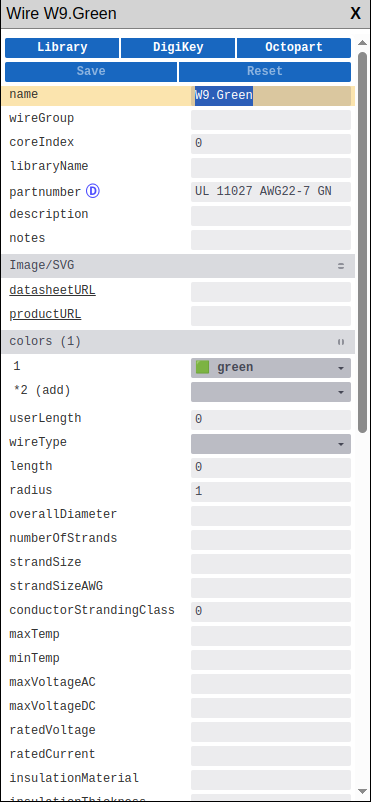
Set wire properties in the Inspector:
- Color (using DIN 47100 codes)
- Gauge (AWG or mm²)
- Part number (if specified)
Power Wires
For the 24V power circuit, use appropriate gauge. The AI can help:
"What gauge wire for 24V 15A over 2 meters?"
Step 5: Ask AI to Validate (3 minutes)
Before exporting, let's check for issues.
- Open AI Chat (Ctrl+Shift+A)
- Ask: "Check this harness for any missing connections or validation issues"

The AI will scan your design and report:
- Unconnected pins
- Missing wire properties
- Bundle routing issues
Step 6: Export Deliverables (5 minutes)
Generate the quote materials.
PDF Drawing
- Open Manufacturing Data from the side menu
- Click Export > PDF
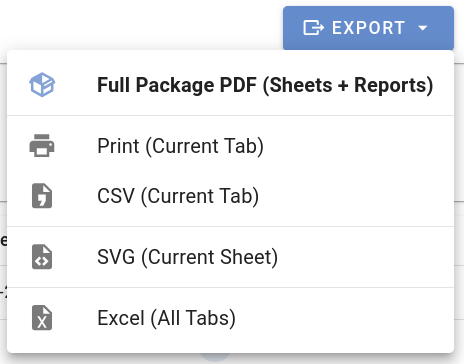
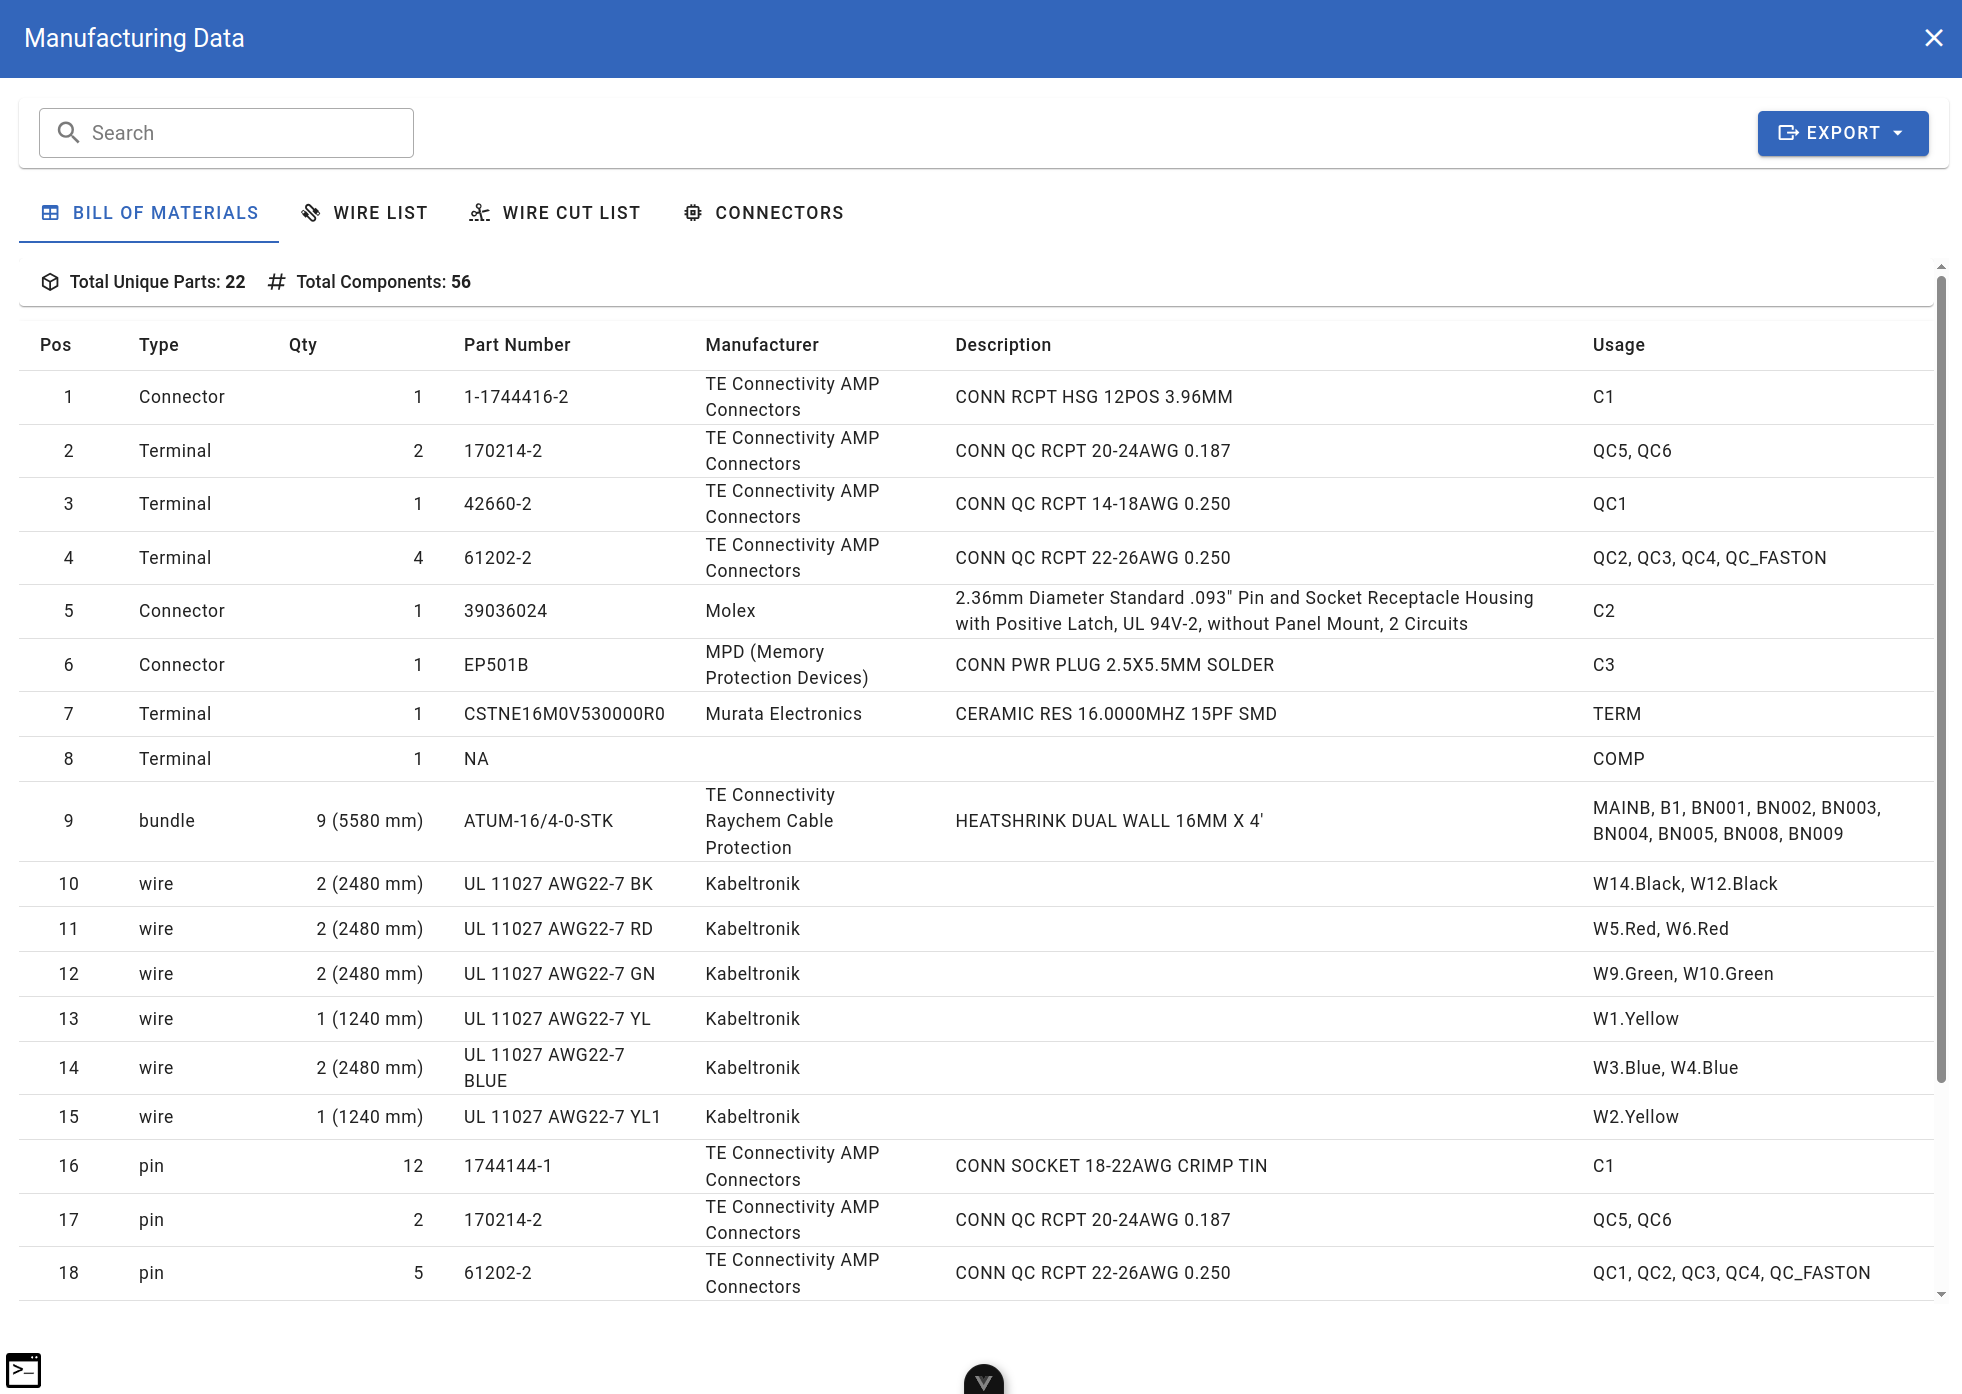
BOM (Bill of Materials)
- In Manufacturing Data, switch to BOM tab
- Review the component list
- Click Export > Excel
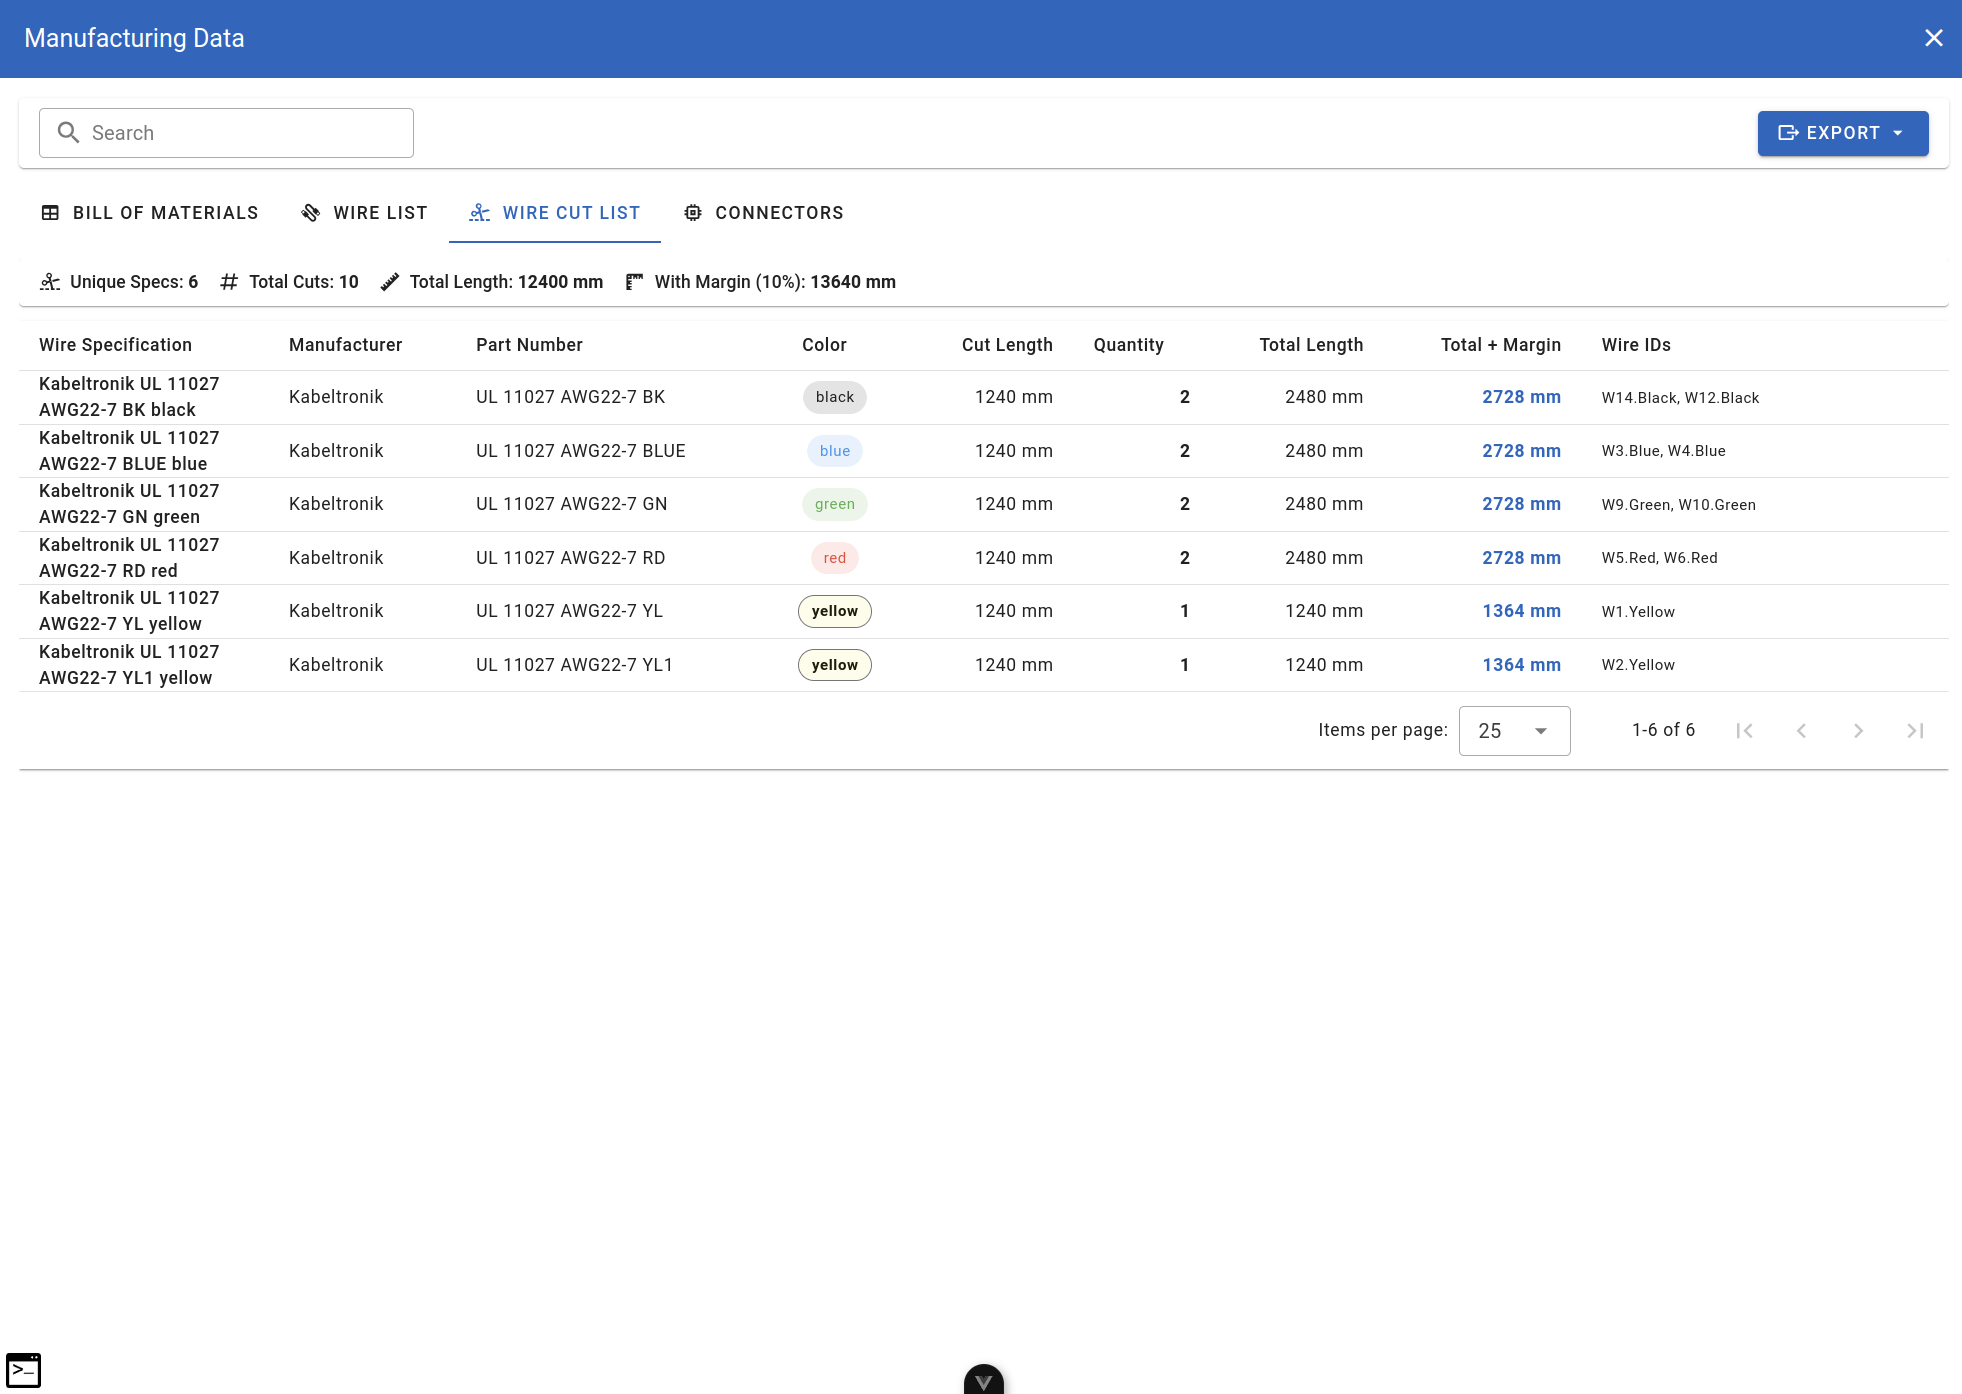
Wire Cut List
- Switch to Wire Cut List tab
- Verify calculated lengths
- Export to Excel
Result
In under an hour, you've created:
| Deliverable | Status |
|---|---|
| Professional PDF schematic | Ready |
| Complete BOM with DigiKey part numbers | Ready |
| Wire cut list with lengths | Ready |
| Quote-ready documentation | Ready |
Your Monday morning deadline? Handled by Friday at 4 PM.
Key Techniques Used
| Technique | Time Saved |
|---|---|
| DigiKey integration for real component data | ~30 min vs manual entry |
| AI validation check | ~15 min vs manual review |
| Automatic wire length calculation | ~20 min vs manual measurement |
| One-click PDF/Excel export | ~15 min vs manual formatting |
Next Steps
Now that you've seen the end-to-end workflow:
- Your First Harness - Detailed step-by-step tutorial
- AI Copilot Overview - Get more from the AI assistant
- Scripting Basics - Automate repetitive tasks
- DigiKey Integration - Advanced component search
Save Time on Future RFQs
Save your validated components and common wire configurations to a Library Project. Next time, you'll start with proven building blocks instead of from scratch.