
AI Copilot Overview
LoomCAD includes an integrated AI assistant that understands wire harness design. Unlike generic AI chatbots, the copilot is connected to your design data and can take actions on your behalf.
Note
For detailed panel layout and UI controls, see AI Chat Interface. This page focuses on capabilities and how to work effectively with the AI.
Opening the AI Chat
Access the AI copilot in several ways:
| Method | Action |
|---|---|
| Keyboard | / |
| Button | |
| Command Palette | Press Space, search "AI Chat" |
The chat panel opens as a floating window that you can:
- Drag to reposition
- Resize by dragging edges
- Expand to fullscreen

What the AI Can Do
Answer Questions
Ask about your design or wire harness engineering in general:
- "What gauge wire should I use for a 24V 10A circuit over 3 meters?"
- "Show me all components without part numbers"
- "Which pins on J101 are unconnected?"
Generate Scripts
Describe what you want, and the AI writes executable code:
- "Create 5 connectors named J1 through J5 in a row, spaced 100 units apart"
- "Add red 18AWG wires from ECU pins 1-8 to connector C1 pins 1-8"
- "Change all wires with gauge 22 to gauge 20"
Validate Designs
Ask the AI to check your work:
- "Are there any unconnected pins?"
- "Check for duplicate wire names"
- "Validate that all power pins have appropriate gauge wires"
Explain Features
Get help with LoomCAD itself:
- "How do I export a PDF?"
- "What's the shortcut for the bundle tool?"
- "How do I add a splice?"
The Chat Interface

Message Input
Type your question or command at the bottom. Press Enter to send.
Context Badges
Badges are information blocks attached to your message — they control what data the AI can see when responding. Without badges, the AI has no access to your project.
Click + to add badges. Available types:
| Badge type | What it gives the AI |
|---|---|
| Project context | Project structure, components, sheets, bundles |
| Inspector context | Properties of currently selected element(s) |
| System message guide | LoomCAD documentation and command references |
| File attachment | Images, PDFs, text files you attach |
| URL | Content from a web page |
Badges you've added appear as chips in the badge panel. Each chip shows its name and data size.
 Toggle visibility — temporarily disable without removing
 Remove badge
Click a badge to inspect its content before sending.
For full badge panel reference, see AI Chat Interface — Context Badges.
Model Selection
Choose which AI model to use:
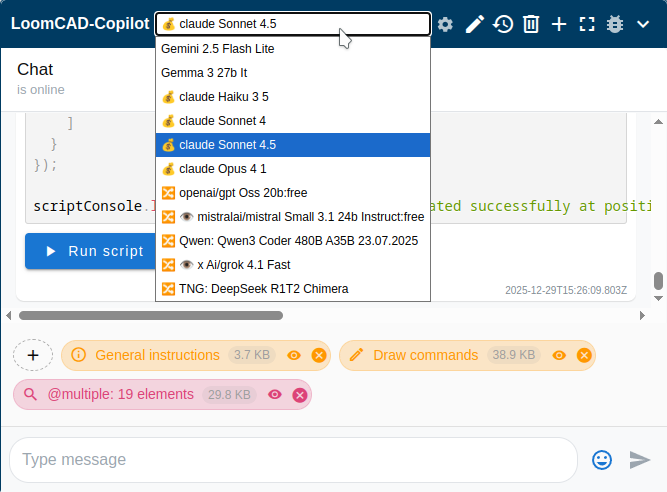
Available providers:
- Claude (Anthropic) - Default, best for complex tasks
- Gemini (Google) - Alternative option
- OpenRouter - Access to multiple models
- LM Studio - Local models (privacy-focused)
Configure API keys in Settings > API Keys.
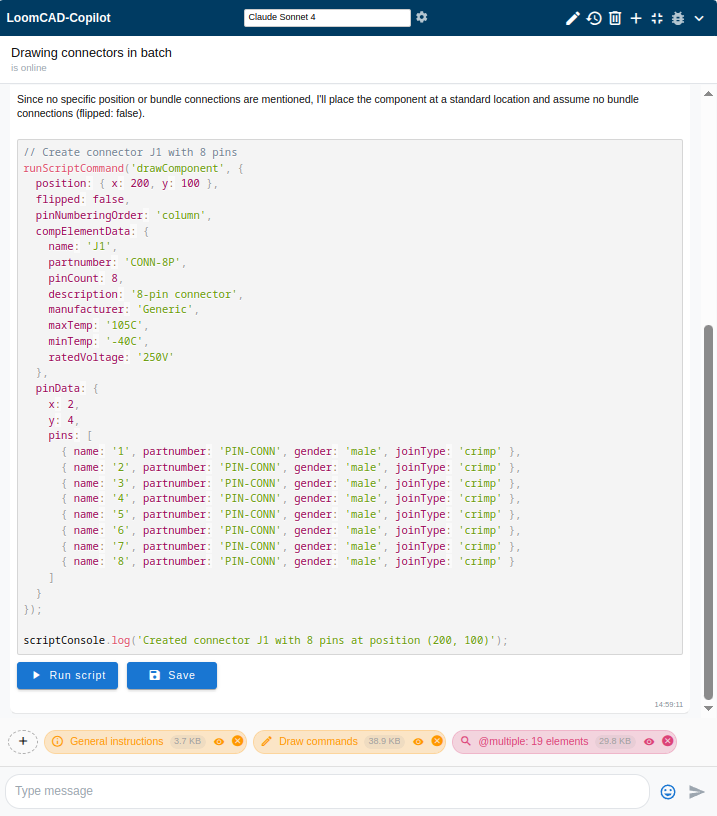
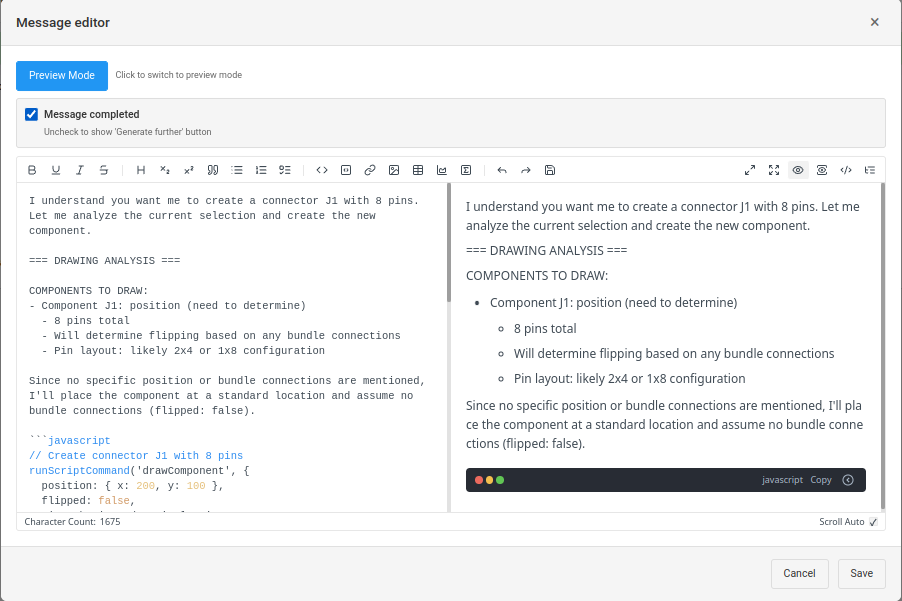
Running Generated Scripts
When the AI generates code, you'll see Run and Save buttons:
Run Script
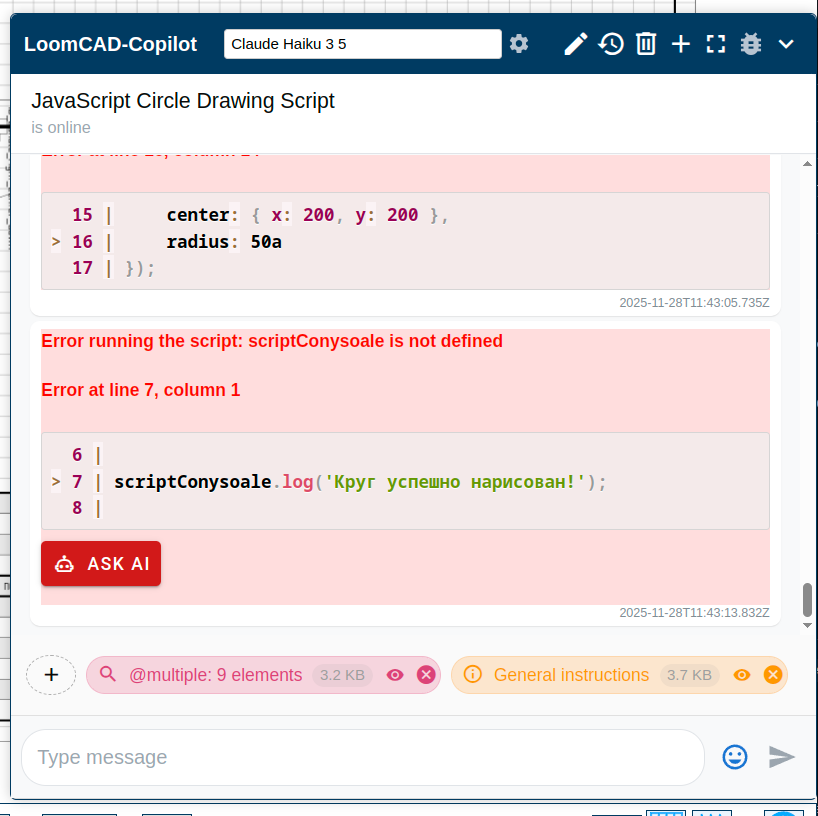
Executes the code immediately on your design. Results appear below the code block:
Success: 
Error: 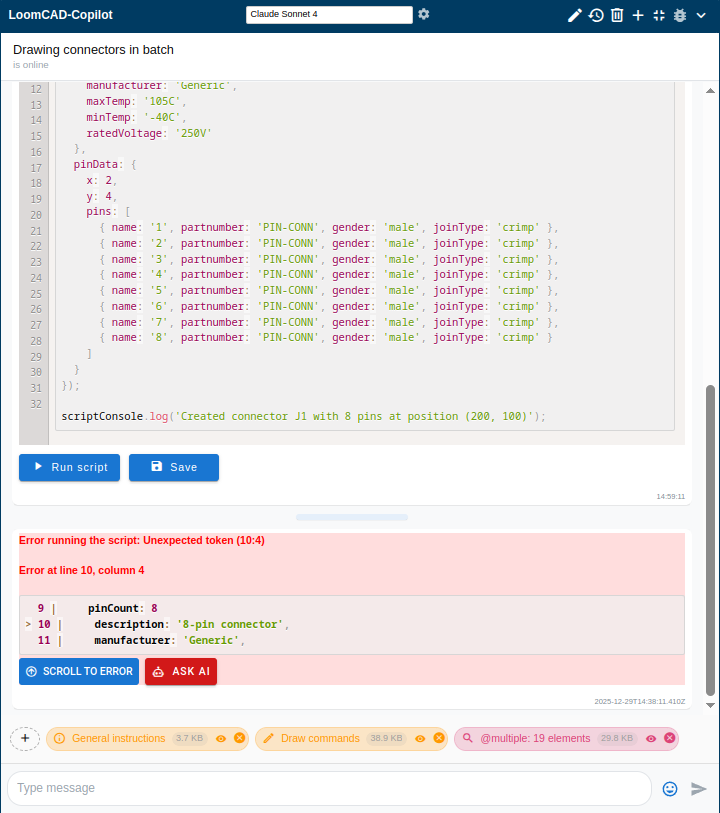
Save Script
Opens a dialog to save the script for reuse:
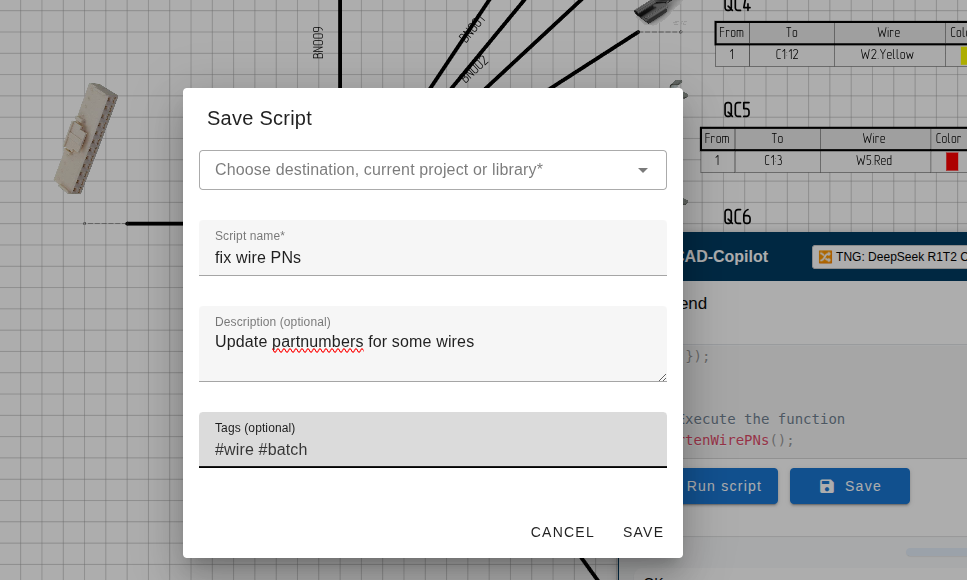 Save script dialog
- Save to current project
- Save to a library project (for sharing)
See Script Libraries for details.
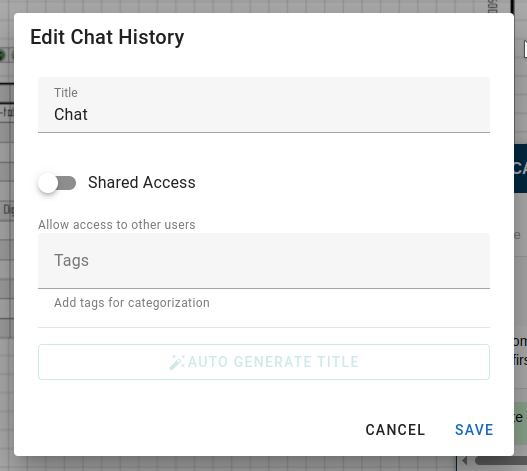
Chat Management
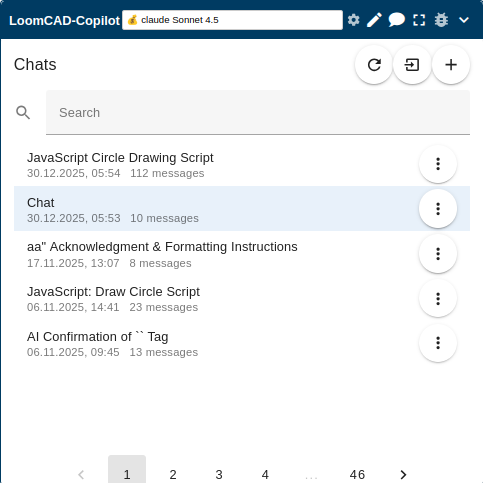
Multiple Chats
Create separate chat threads for different topics:
- Click the chat menu icon
- Select New Chat
Edit Messages
Made a typo? Edit and regenerate:
- Hover over your message
- Click the edit icon
- Modify and resend
Message Actions
Each AI response has action options:
- Copy response text
- Regenerate response
- Rate the response (helps improve the AI)
Settings
Configure AI behavior in the chat settings dialog:
| Setting | Description |
|---|---|
| Default Model | Which AI model to use by default |
| Auto-include Selection | Always send selected elements to AI |
| Code Execution Confirmation | Ask before running scripts |
Tips for Effective Use
Be Specific
Instead of "add some connectors", try:
"Add 3 Molex MX150 connectors, 8-pin, named J1, J2, J3"
Provide Context
Include relevant details:
"For an automotive 12V system, suggest wire gauges for: main power (30A), accessories (5A), signals (0.5A)"
Use Follow-ups
Build on previous responses:
- "Create a 6-pin connector called ECU1"
- "Now add wires from ECU1 to the sensor connector"
- "Make the power wires red and signals white"
Review Before Running
Always review generated scripts before clicking Run. Check that the code matches your intent.
Limitations
The AI copilot:
- Cannot access the internet or external files
- Cannot undo its own changes (use Ctrl+Z)
- May occasionally make mistakes - always verify critical data
- Works best with clear, specific requests
See Trust & Verification for guidelines on working safely with AI-generated designs.
Next Steps
- Trust & Verification - Best practices for AI-assisted design
- Prompt Recipes - Ready-to-use prompts for common tasks
- Scripting Basics - Understand the scripts AI generates